How to Lay Out a Screened Porch
The dimensions that decide whether the room works, whatever it ends up looking like. Outdoor living with the insects and the weather taken out.
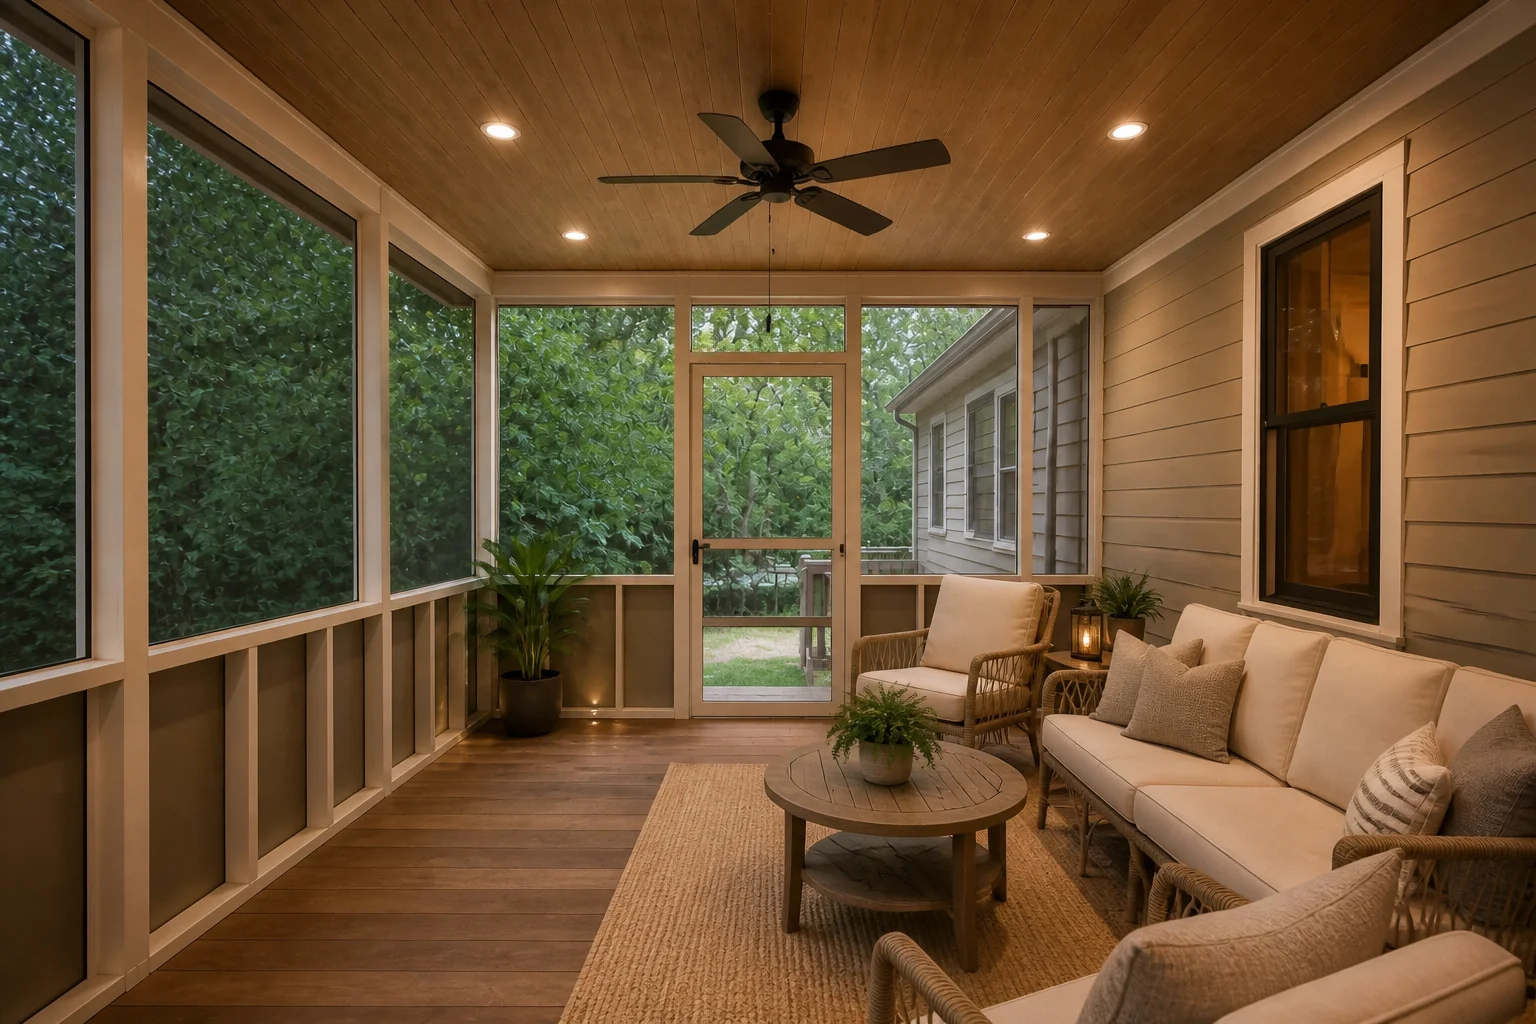 BeforeAfter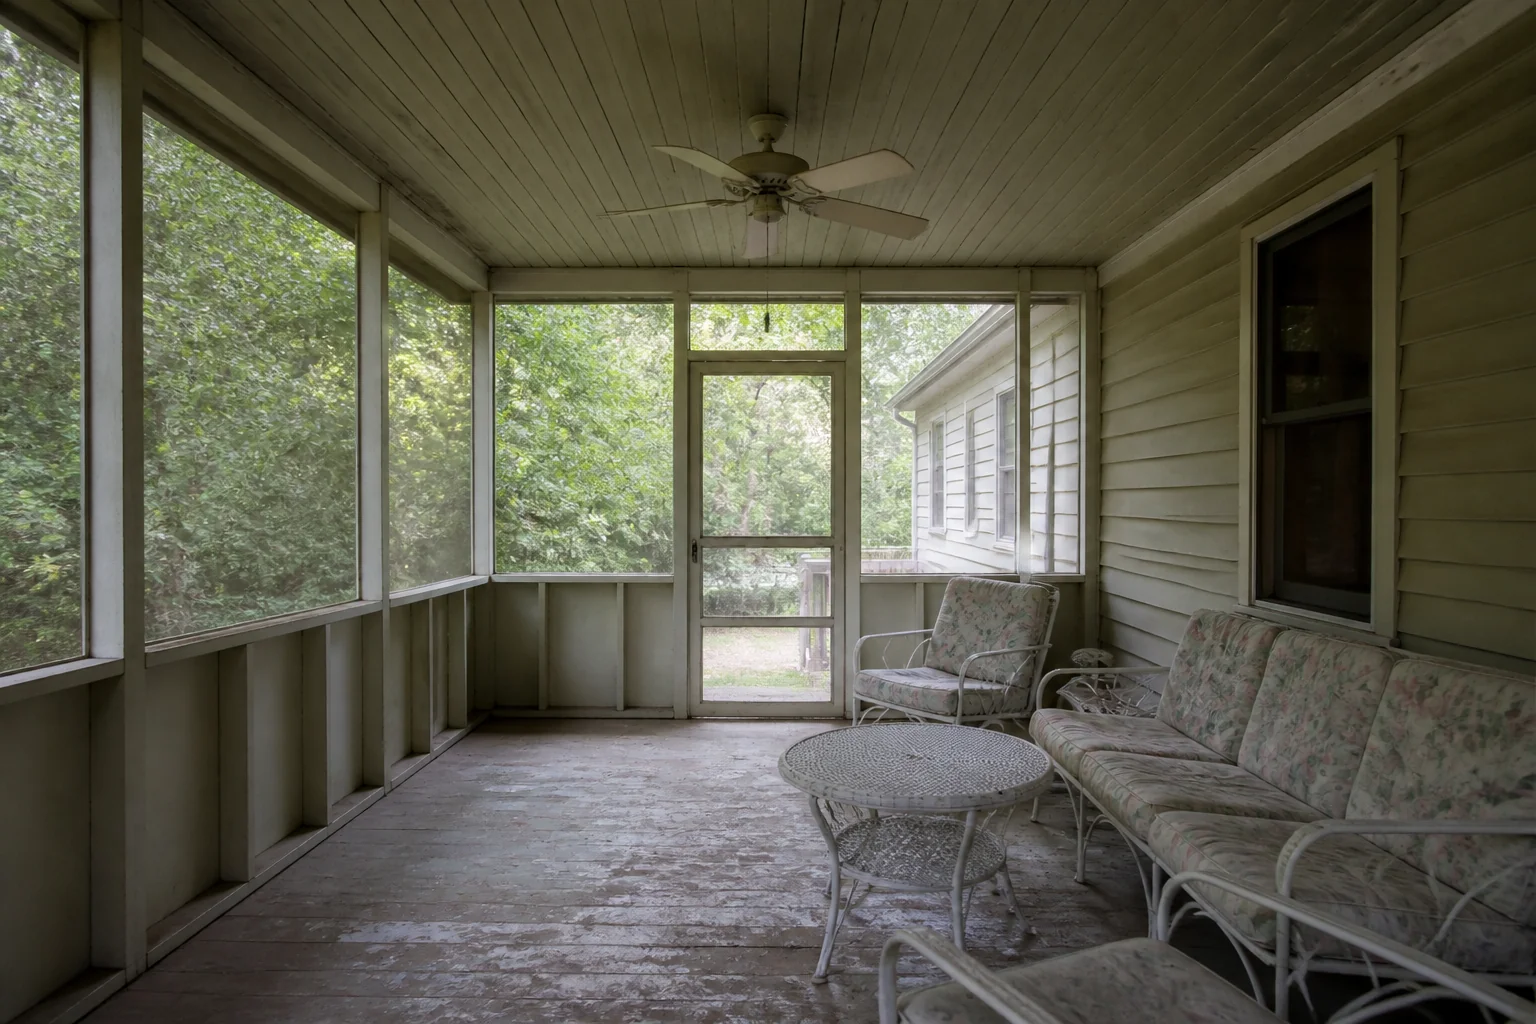
- 1
What the room is arranged around
A screened porch is the cheapest way to add a room people actually use. The work is framing, screen panels, a floor that drains and a ceiling worth looking at — and the single decision that matters most is whether it gets enough roof to stay dry in a side-on rain.
- 2
Rule 1
You need 12ft of depth to hold both seating and a table; at 8ft it is a seating porch only.
- 3
Rule 2
Keep the floor pitched about 1:100 away from the house so wind-driven rain drains rather than pools.
- 4
Rule 3
Screen panels read best at 3–4ft wide — wider sags, narrower turns the view into a grid.
- 5
Rule 4
Give the roof at least 24in of overhang beyond the screen line, or the lower panels take every storm.
- 6
Rule 5
Hang a ceiling fan with 7ft of clearance beneath it and blades 18in clear of any wall.
- 7
When it is tight
Under 10ft deep, drop the dining ambition and build in a bench along one side. Fixed seating on a narrow porch gives it real capacity; loose furniture just makes the walkway narrower.
Questions
- What should I decide first in a screened porch remodel?
- A screened porch is the cheapest way to add a room people actually use. The work is framing, screen panels, a floor that drains and a ceiling worth looking at — and the single decision that matters most is whether it gets enough roof to stay dry in a side-on rain.
- What goes wrong most often?
- Too shallow a roof overhang, so the porch is unusable in exactly the weather it was built for. A flat floor that holds water against the house.
- Will it work in a small screened porch?
- Under 10ft deep, drop the dining ambition and build in a bench along one side. Fixed seating on a narrow porch gives it real capacity; loose furniture just makes the walkway narrower.
- Can I see it on my own screened porch before starting?
- Yes — photograph the space and run it through the Studio. It is generated imagery, so compare the render against your photo rather than treating it as a plan.