How to Light a Home Office
The layer people skip, and the one that makes the rest of the work visible. Built-in desk, real storage, and a wall you can be seen against.
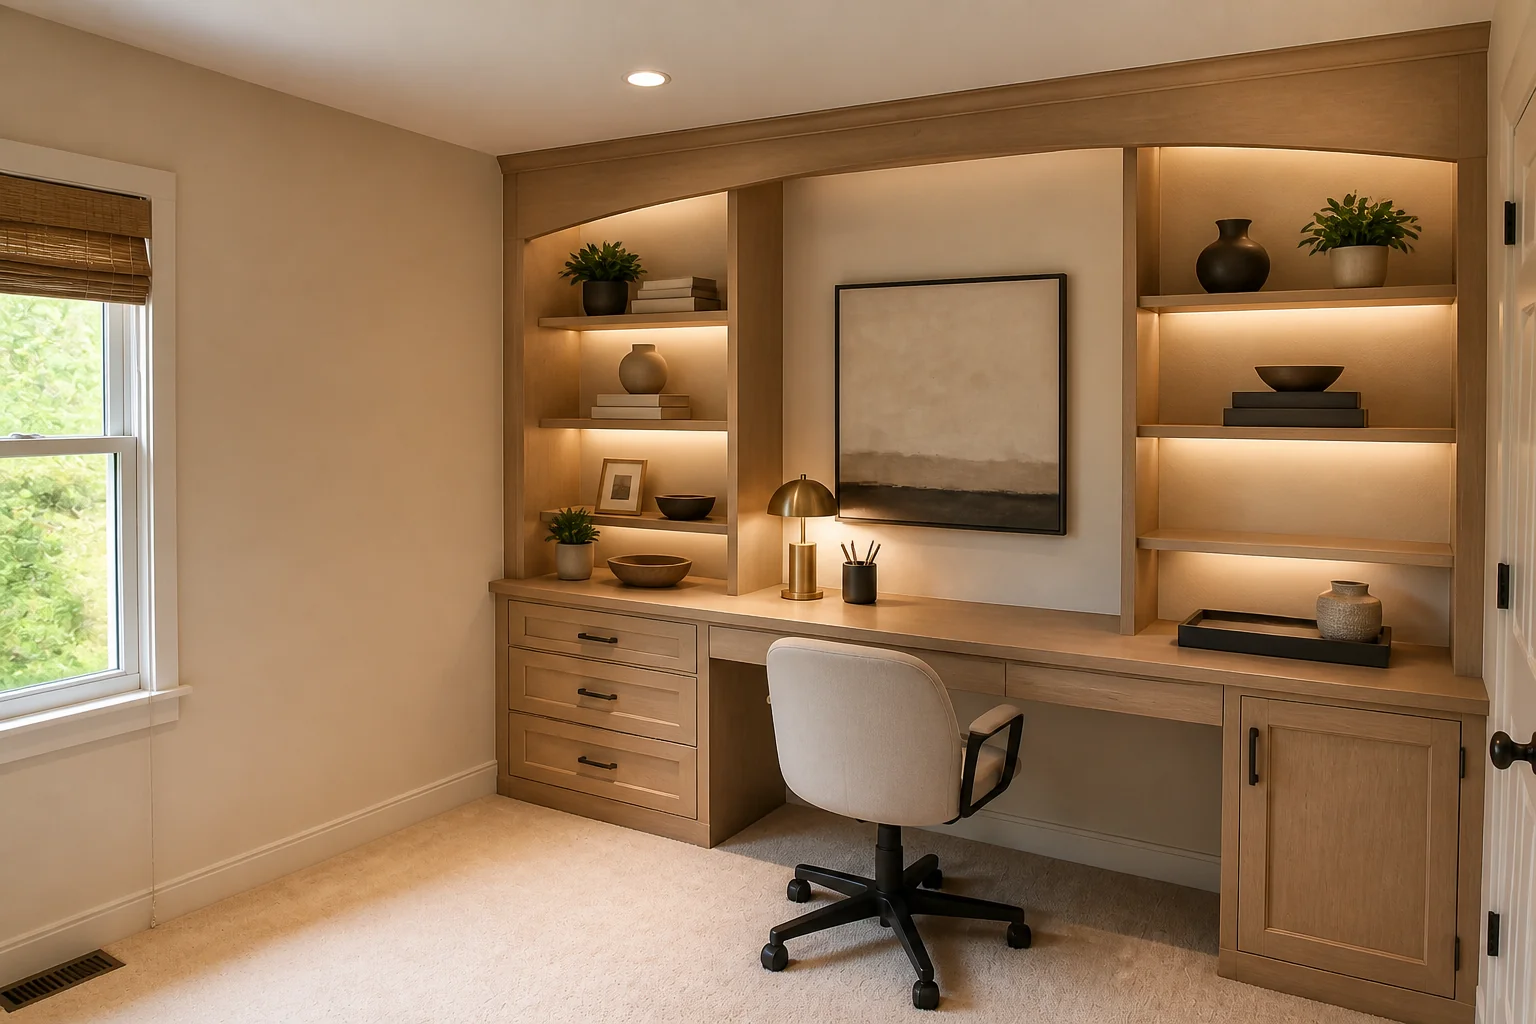 BeforeAfter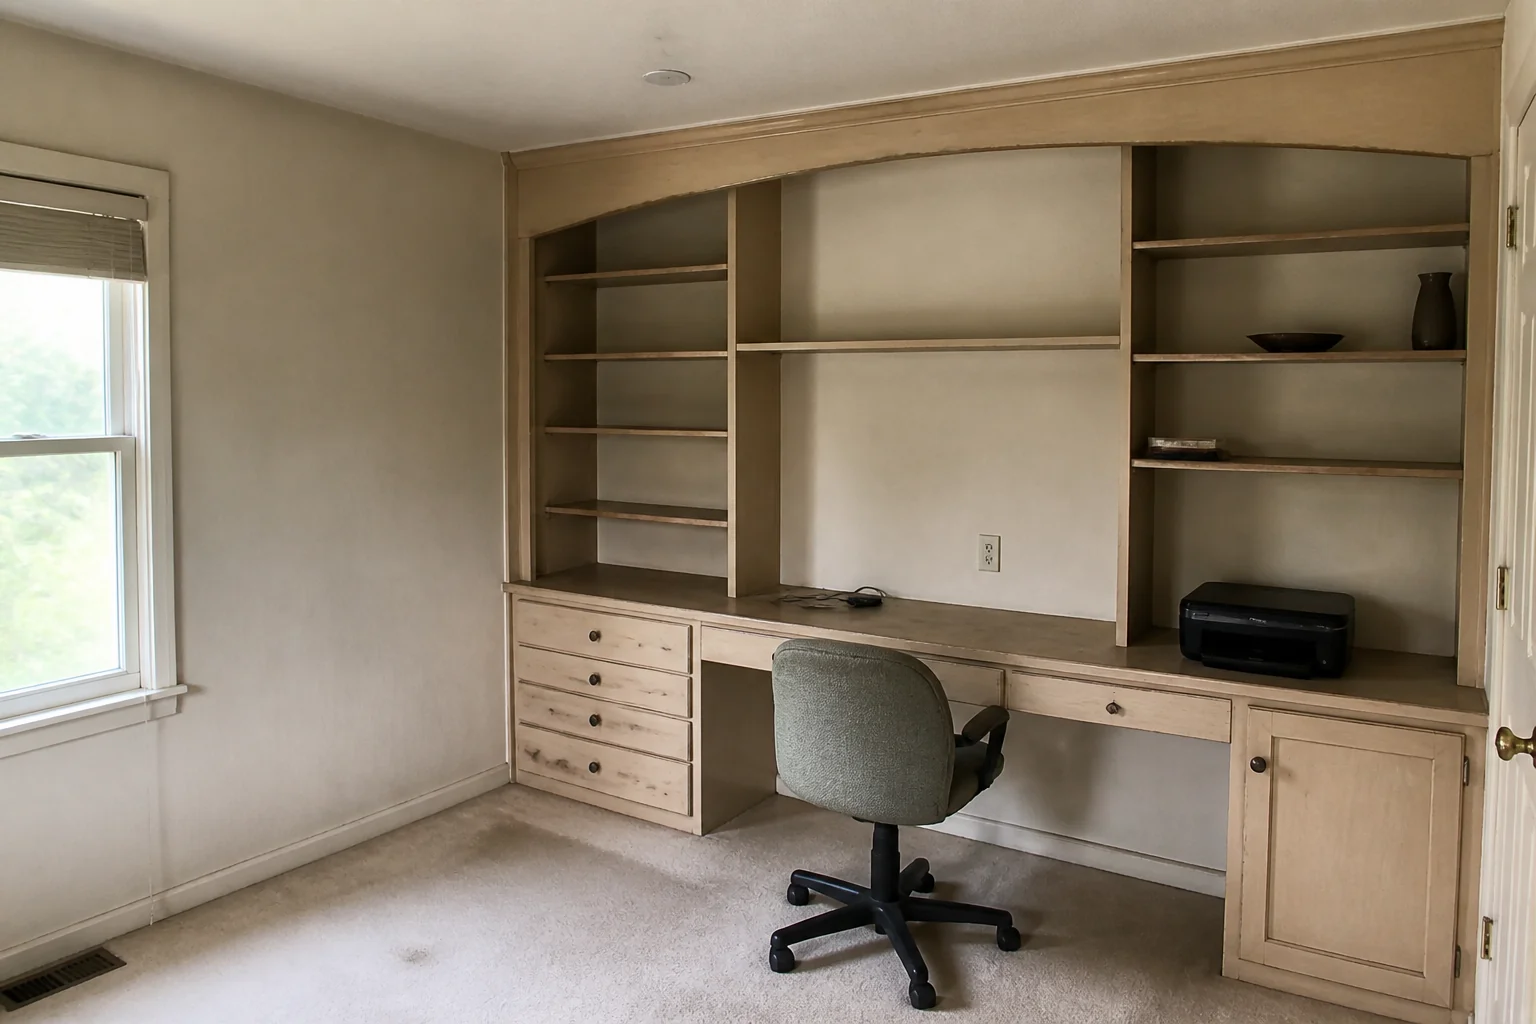
- 1
The plan
Three jobs: task light on the desk surface, a soft frontal source at face height for calls, and something on the back wall so the video background has depth. A downlight overhead does none of these and creates screen glare.
- 2
What it has to light
The elements the work touches — built-in desk and returns, shelving to ceiling, cable management, task and background lighting — are what the lighting has to make legible. Finishes chosen under a showroom's light and lit badly at home look like different materials.
- 3
Where lighting goes wrong here
The desk facing a window, so the camera exposes for the light and the face goes dark.
Questions
- What should I decide first in a home office remodel?
- A home office remodel is joinery plus a lighting plan. The desk becomes part of the wall, the storage goes vertical, and — since half the room's job is now being a background — the wall behind the chair gets as much thought as the one in front of it.
- What goes wrong most often?
- The desk facing a window, so the camera exposes for the light and the face goes dark. Shelving stopped at picture height, wasting the most useful storage in the room.
- Will it work in a small home office?
- In an alcove under 6ft wide, run the desk the full width and take the shelving to the ceiling above it. A freestanding desk in a small office wastes the two inches at each end that make it feel built-in.
- Can I see it on my own home office before starting?
- Yes — photograph the space and run it through the Studio. It is generated imagery, so compare the render against your photo rather than treating it as a plan.
How to Remodel a Home OfficeThe order the work happens in, and what to settle before anything is ordered.How to Remodel a Small Home OfficeWhat changes when the space will not take the standard answer.How to Lay Out a Home OfficeThe dimensions that decide whether the room works, whatever it ends up looking like.Home Office Remodel Mistakes to AvoidThe failures that show up again and again, and what causes each one.Home Office Before and AfterWhat actually changes visually, and how to see it on your own photo first.