Media Room Before and After
What actually changes visually, and how to see it on your own photo first. Seating distance and reflected light decide everything else.
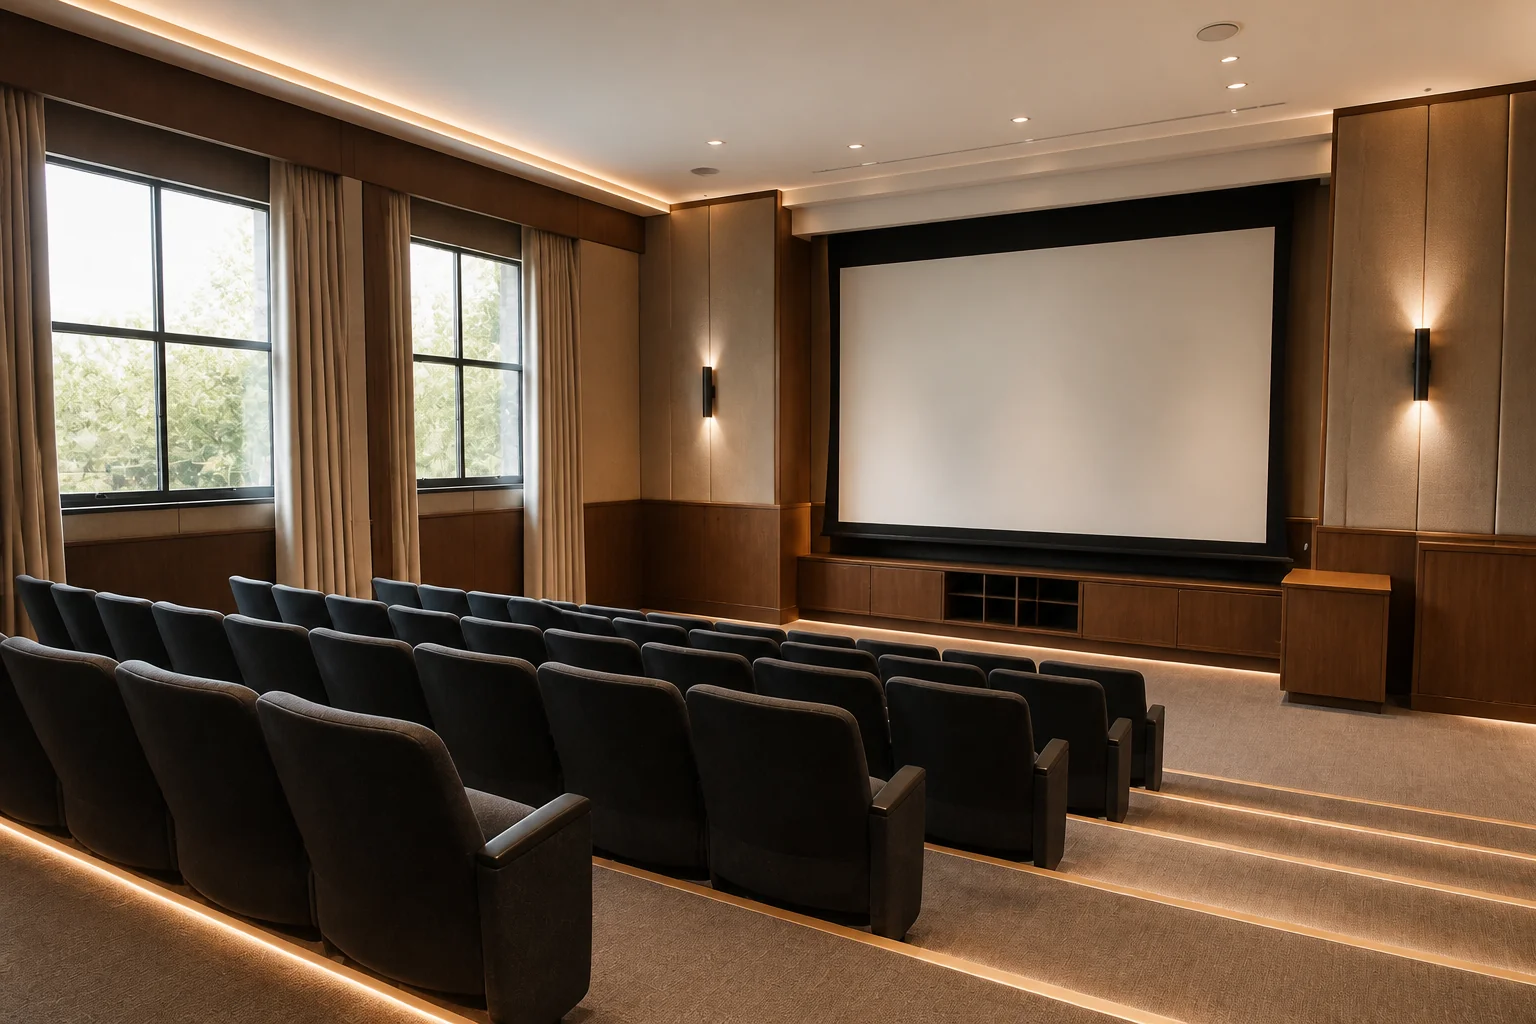 BeforeAfter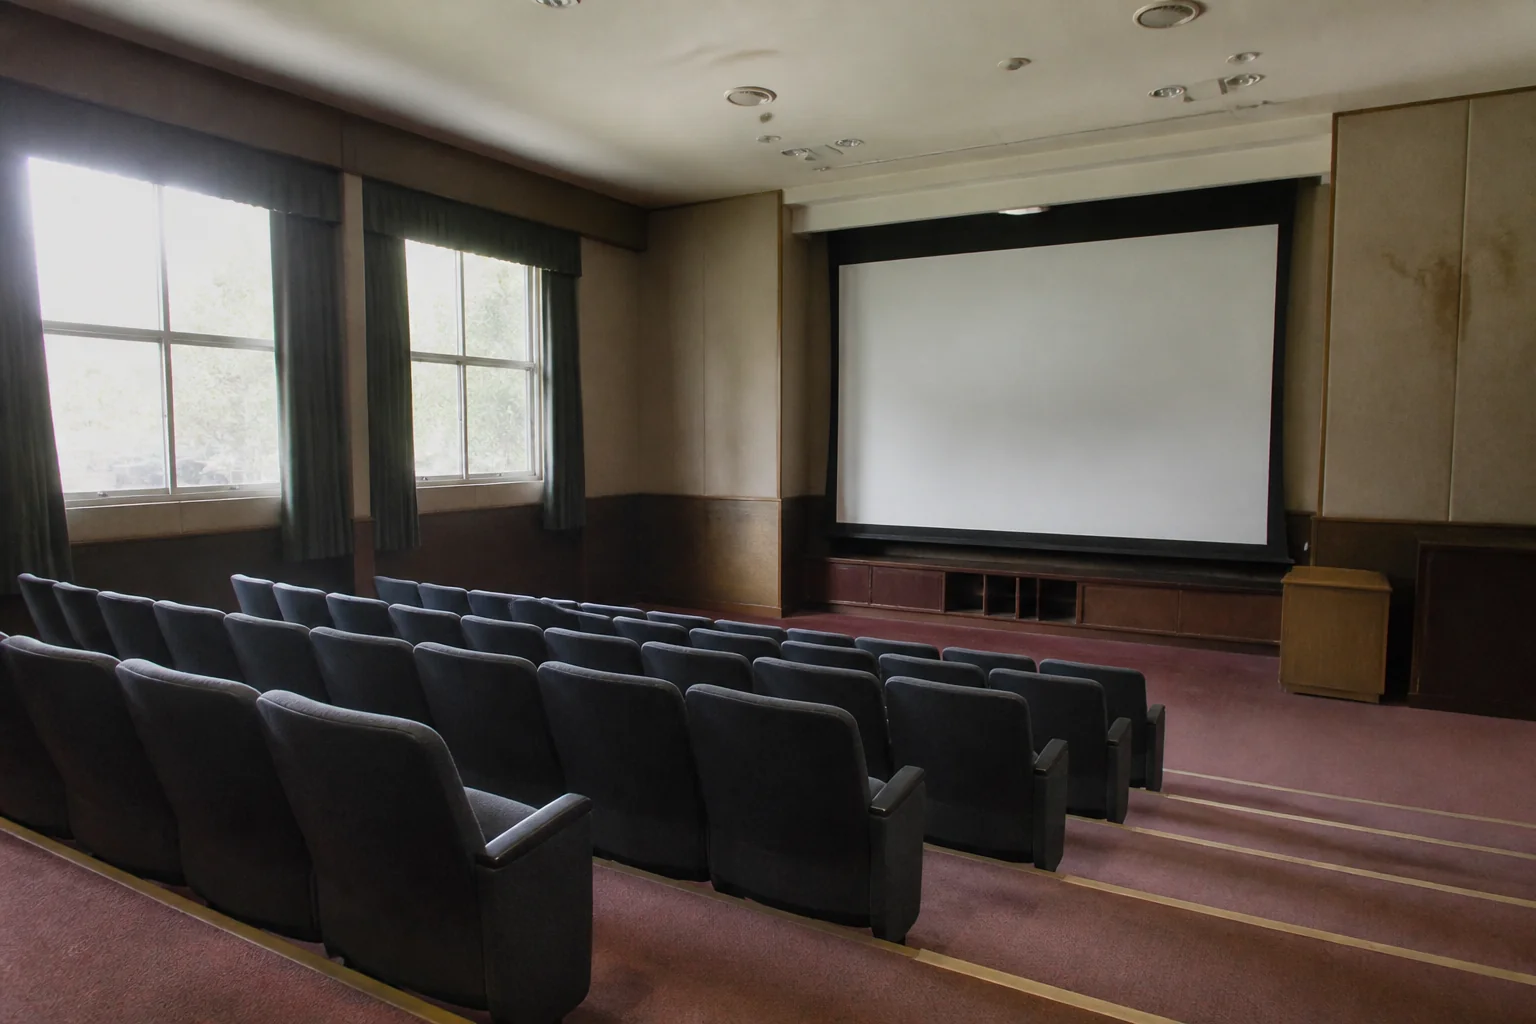
- 1
What visibly changes
A media room remodel is geometry and darkness. Screen size sets the seating distance, seating distance sets the room, and every reflective surface left in it undoes the work. The finishes follow from those numbers rather than the other way round.
- 2
The elements doing the work
Across a set of before-and-afters the same items carry the difference: screen or projector and throw, tiered or fixed seating, acoustic wall treatment, blackout, low-level lighting. Everything else is detail on top of those.
- 3
See it on your own room first
Upload a photo and the Studio renders the finished version from it. A Standard run is 4 credits and new accounts start with 4, so there is a full before-and-after before anything is paid for.
Questions
- What should I decide first in a media room remodel?
- A media room remodel is geometry and darkness. Screen size sets the seating distance, seating distance sets the room, and every reflective surface left in it undoes the work.
- What goes wrong most often?
- A screen sized to the wall rather than to the seating distance. A white ceiling reflecting the screen straight back at the audience.
- Will it work in a small media room?
- Small media rooms work well — they simply need a smaller screen. The failure mode is fitting a large panel into a short room, which puts the front row inside the minimum viewing distance and makes the whole thing uncomfortable.
- Can I see it on my own media room before starting?
- Yes — photograph the space and run it through the Studio. It is generated imagery, so compare the render against your photo rather than treating it as a plan.