Industrial pantry remodel
Structure left visible, because it was worth looking at. What that means for a pantry remodel — what changes, the palette, the dimensions worth checking — and how to try it on a photo of your own room.
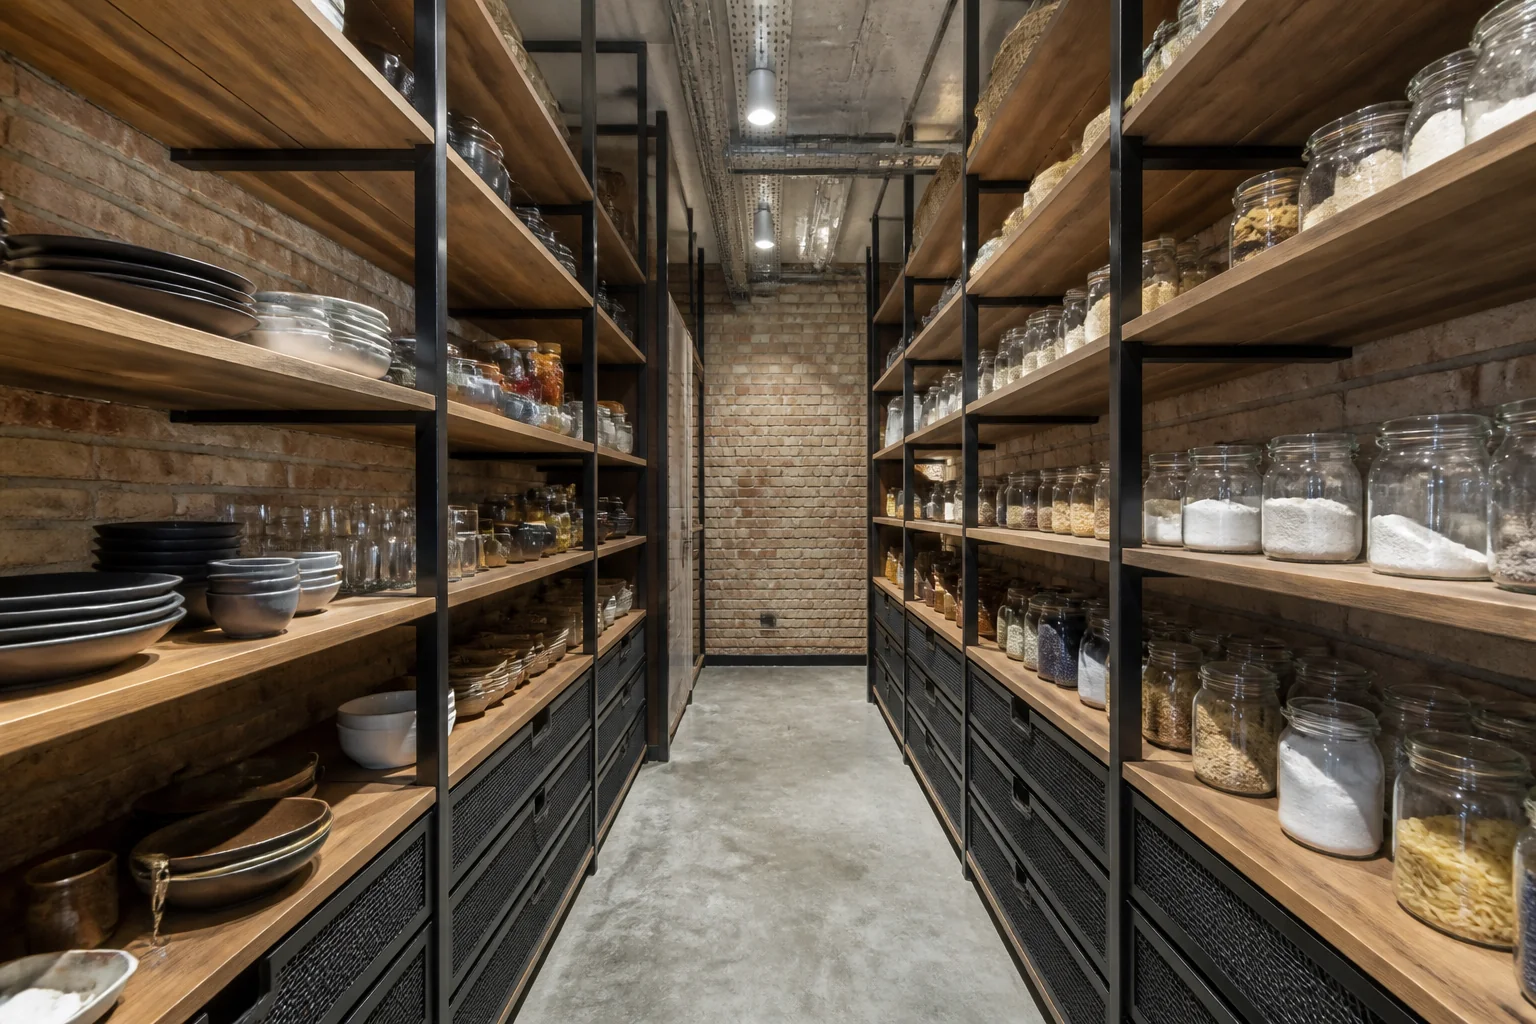
What the work actually covers
A pantry remodel is a shelving problem wearing a joinery costume. Get the depths right and everything is visible and reachable; get them wrong and you have built a place for things to go missing behind other things. Taken in Industrial, the elements on the list — shelf depths and spacing, door type, lighting, counter or landing surface — are the ones carrying the look, and the ceiling. painted joists, exposed ductwork and surface conduit are what make a room read industrial, and a plasterboard ceiling ends the conversation.
Making a pantry remodel read as Industrial
Industrial keeps the bones on show: brick, steel, concrete, services running openly across the ceiling. In a remodel it inverts the usual instinct — the work is deciding what not to cover, then finishing the exposed elements properly so they read as chosen. Against a pantry remodel that means the pieces doing the visible work are steel-and-timber shelving, leather chesterfield or club chair, factory pendant lights, sitting inside whatever the layout already demands.
Palette and materials
Industrial holds a narrow range: Cement, Weathered Brick, Oxidised Steel, Saddle Leather, Iron, with materials running to exposed brick, blackened steel, reclaimed timber, polished concrete. On a pantry remodel the discipline matters most wherever the largest uninterrupted surface is — keep that inside the range and every smaller decision gets easier.
Dimensions that do not move
A style choice never overrides the geometry. Whatever the finishes, the work still has to hold: Keep shelves at 12–14in deep. At 16in and beyond, the back row is invisible and effectively lost. Vary the spacing: 16in at the bottom for appliances, 10–12in in the middle, 8in above for tins. A walk-in needs 36in of clear aisle; below that you cannot turn with a box.
Lighting
Metal shades and visible filaments, hung low over the surfaces that matter. Bare fittings suit the style; bare bulbs at ceiling height do not. Light inside the pantry, never from the room outside — standing in your own shadow is the defining pantry experience. A door-triggered strip on the front edge of each shelf costs almost nothing and fixes it.
Where it usually goes wrong
The style breaks on wall-to-wall carpet, fussy soft furnishings, painted-over brick in a room already short on warmth. Independent of any style, this project is most often let down by deep shelves that swallow everything behind the front row. uniform shelf spacing, so tall items live on the floor.
If the space is tight
A reach-in pantry beats a walk-in under 20 sq ft. A walk-in spends a third of its floor on standing room; a reach-in spends none. The ceiling. Painted joists, exposed ductwork and surface conduit are what make a room read industrial, and a plasterboard ceiling ends the conversation.
Questions
- Does Industrial work for a small pantry?
- A reach-in pantry beats a walk-in under 20 sq ft. A walk-in spends a third of its floor on standing room; a reach-in spends none. Industrial is helped by that, since structure left visible, because it was worth looking at.
- Which surface matters most in a industrial pantry?
- The ceiling. Painted joists, exposed ductwork and surface conduit are what make a room read industrial, and a plasterboard ceiling ends the conversation.
- Can I see this on my own pantry?
- Yes. Upload a photo of the room and the Studio remodels it in Industrial. New accounts get 4 credits and a Standard run costs 4, so there is a full render before anything is paid for.
- What ruins a industrial scheme?
- Usually wall-to-wall carpet and fussy soft furnishings.