How to Lay Out a Nursery
The dimensions that decide whether the room works, whatever it ends up looking like. Designed twice over: for now, and for the four-year-old it becomes.
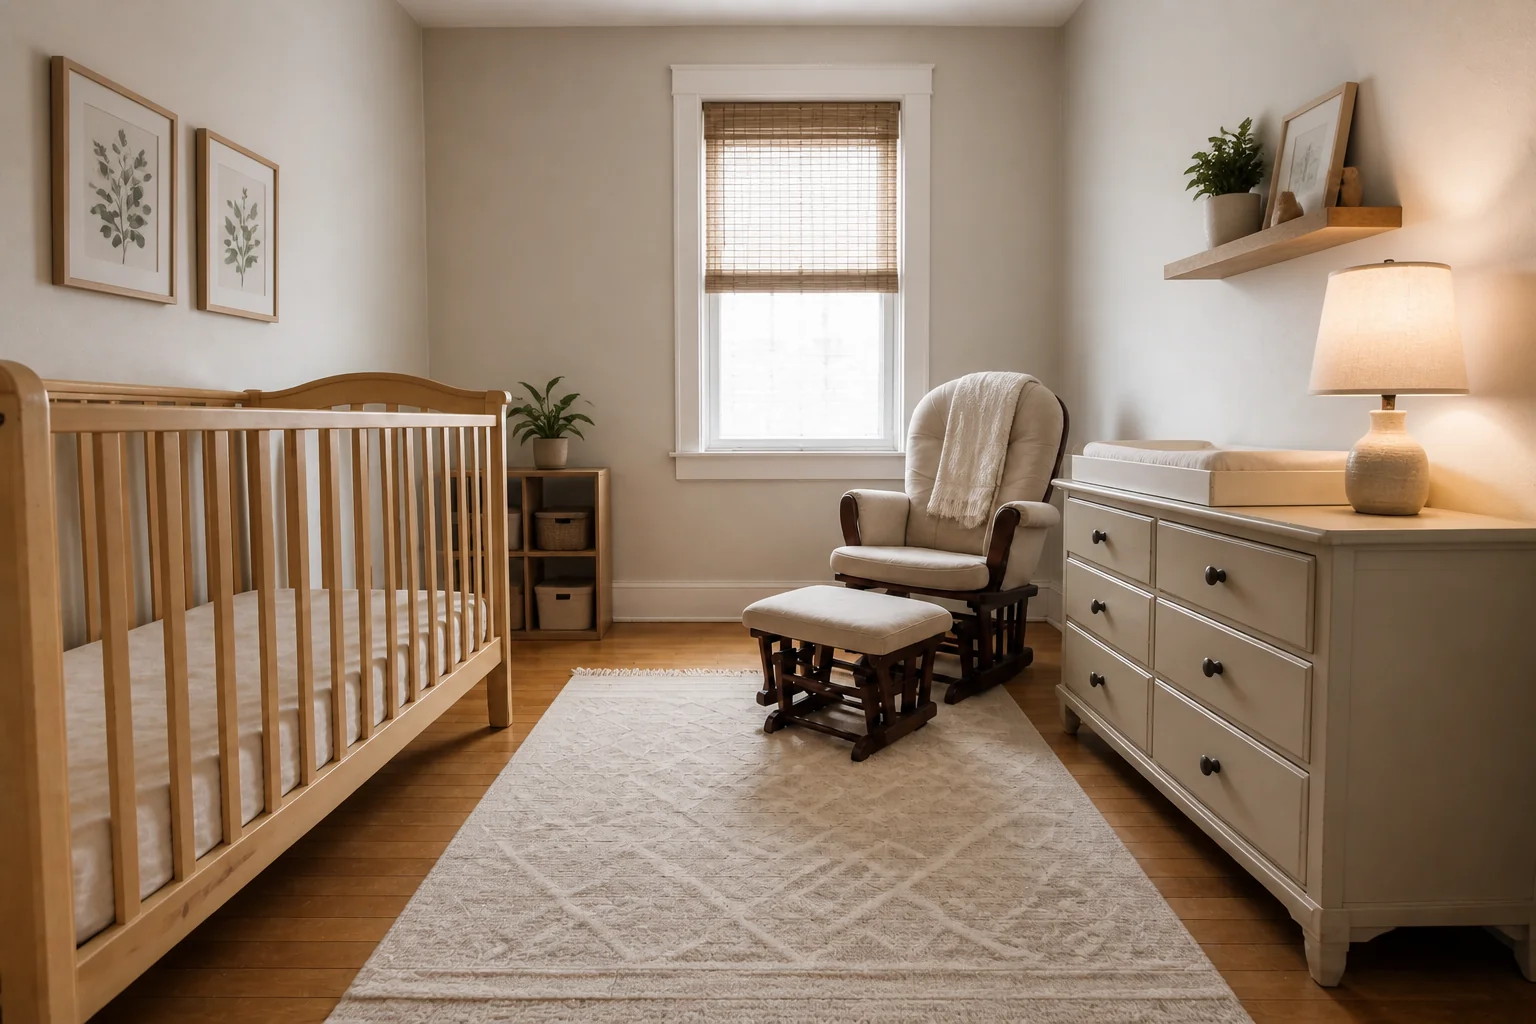 BeforeAfter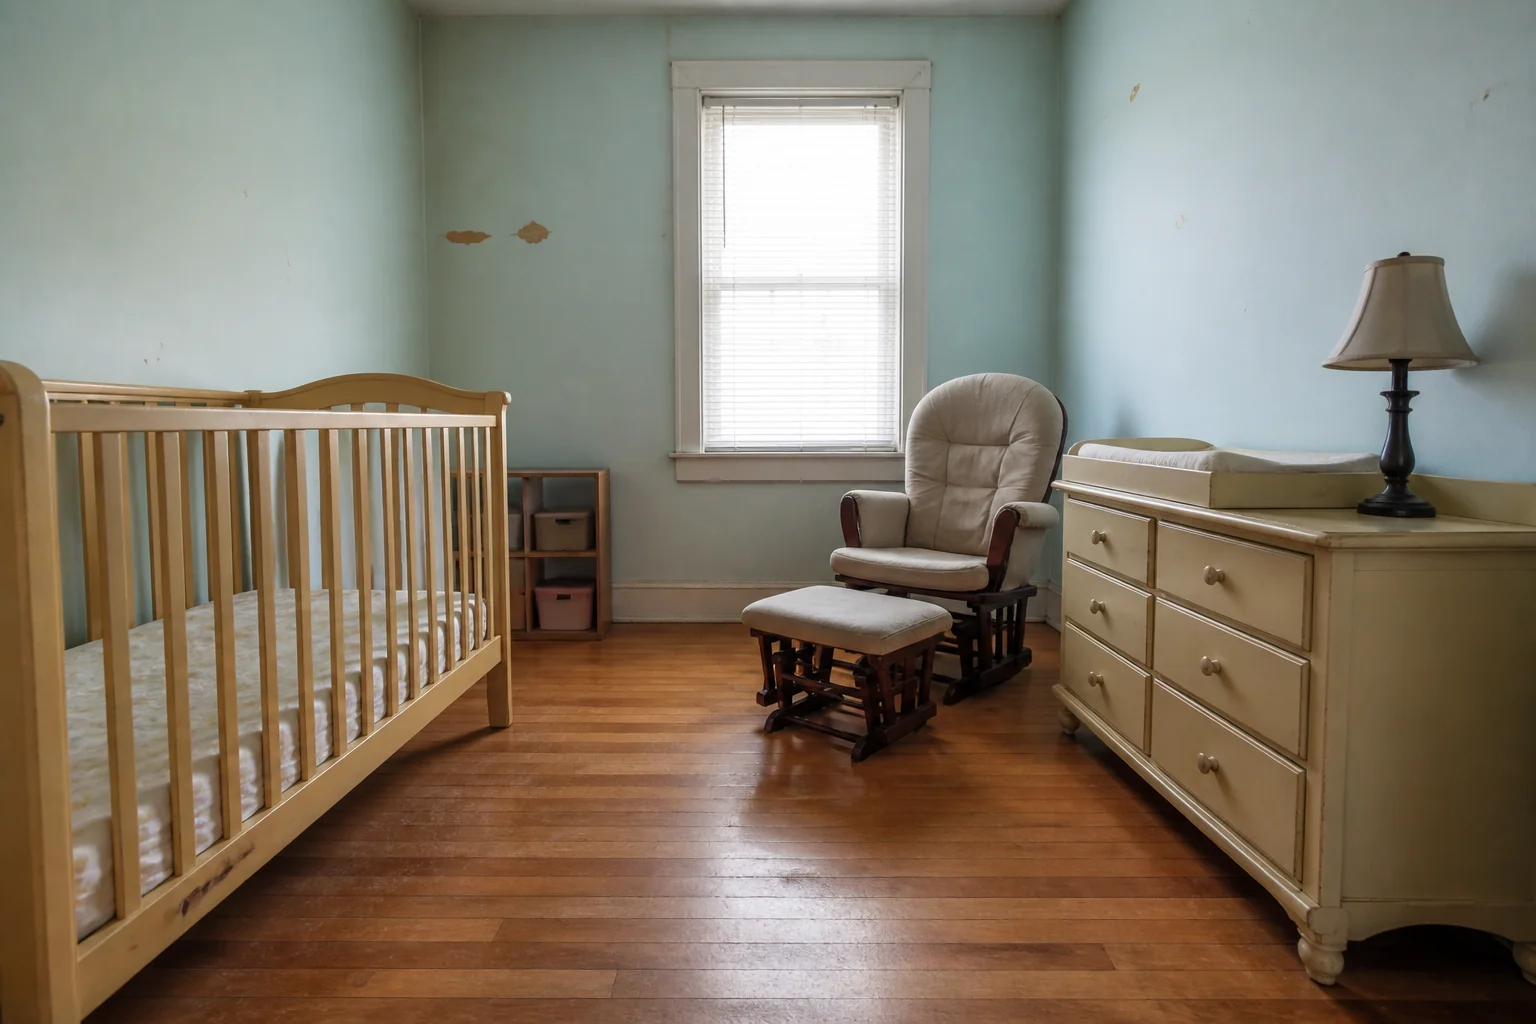
- 1
What the room is arranged around
A nursery remodel is short-lived unless it is planned to change. The crib wall becomes a bed wall, the changing table becomes a chest of drawers, and the storage that held muslins holds toys. The work is choosing pieces and dimensions that survive that transition.
- 2
Rule 1
Keep the crib away from the window, off the radiator wall, and clear of any cord.
- 3
Rule 2
A changing surface sits at 36in with 24in of clear counter beside it.
- 4
Rule 3
Leave 30in beside the nursing chair for a side table within reach.
- 5
Rule 4
Allow 36in of clear floor between the crib and any other furniture.
- 6
Rule 5
Choose a dresser 33–36in high — it becomes the changing table now and the dresser later.
- 7
When it is tight
Skip the changing table and put a changing mat on a normal dresser. It saves a metre of wall in a small room and removes the one piece guaranteed to be obsolete first.
Questions
- What should I decide first in a nursery remodel?
- A nursery remodel is short-lived unless it is planned to change. The crib wall becomes a bed wall, the changing table becomes a chest of drawers, and the storage that held muslins holds toys.
- What goes wrong most often?
- A dedicated changing table that is furniture-shaped landfill within two years. The crib under a window, in the draught and the morning light.
- Will it work in a small nursery?
- Skip the changing table and put a changing mat on a normal dresser. It saves a metre of wall in a small room and removes the one piece guaranteed to be obsolete first.
- Can I see it on my own nursery before starting?
- Yes — photograph the space and run it through the Studio. It is generated imagery, so compare the render against your photo rather than treating it as a plan.