How to Light a Walk-In Closet
The layer people skip, and the one that makes the rest of the work visible. Hanging heights and depth. Everything else is trim.
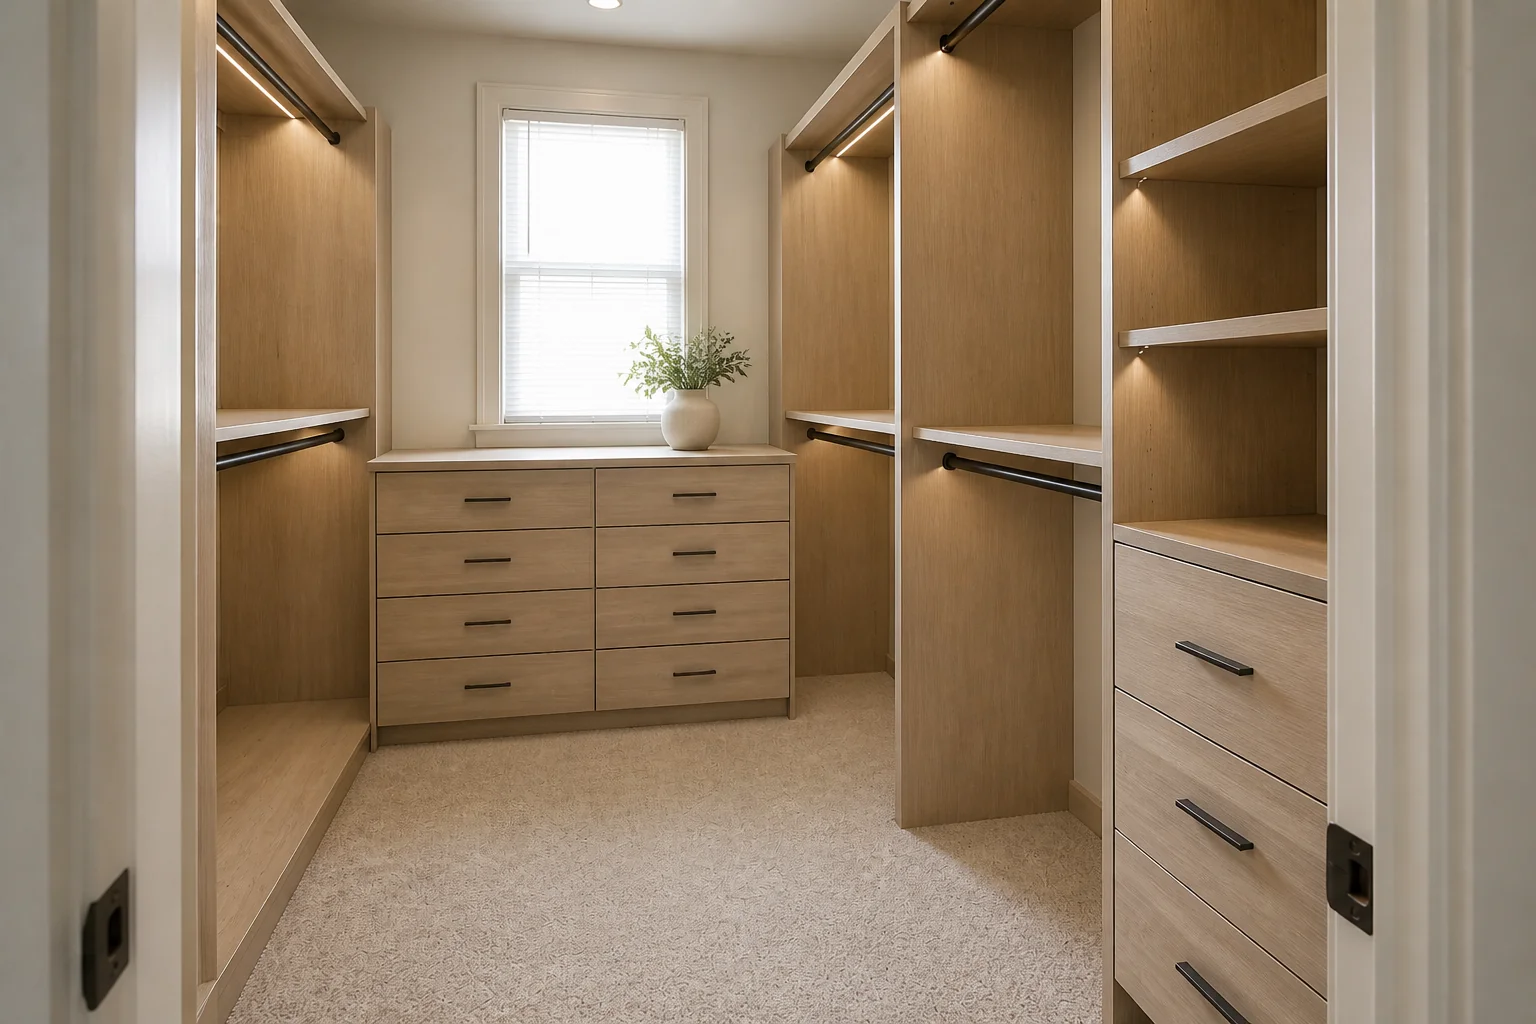 BeforeAfter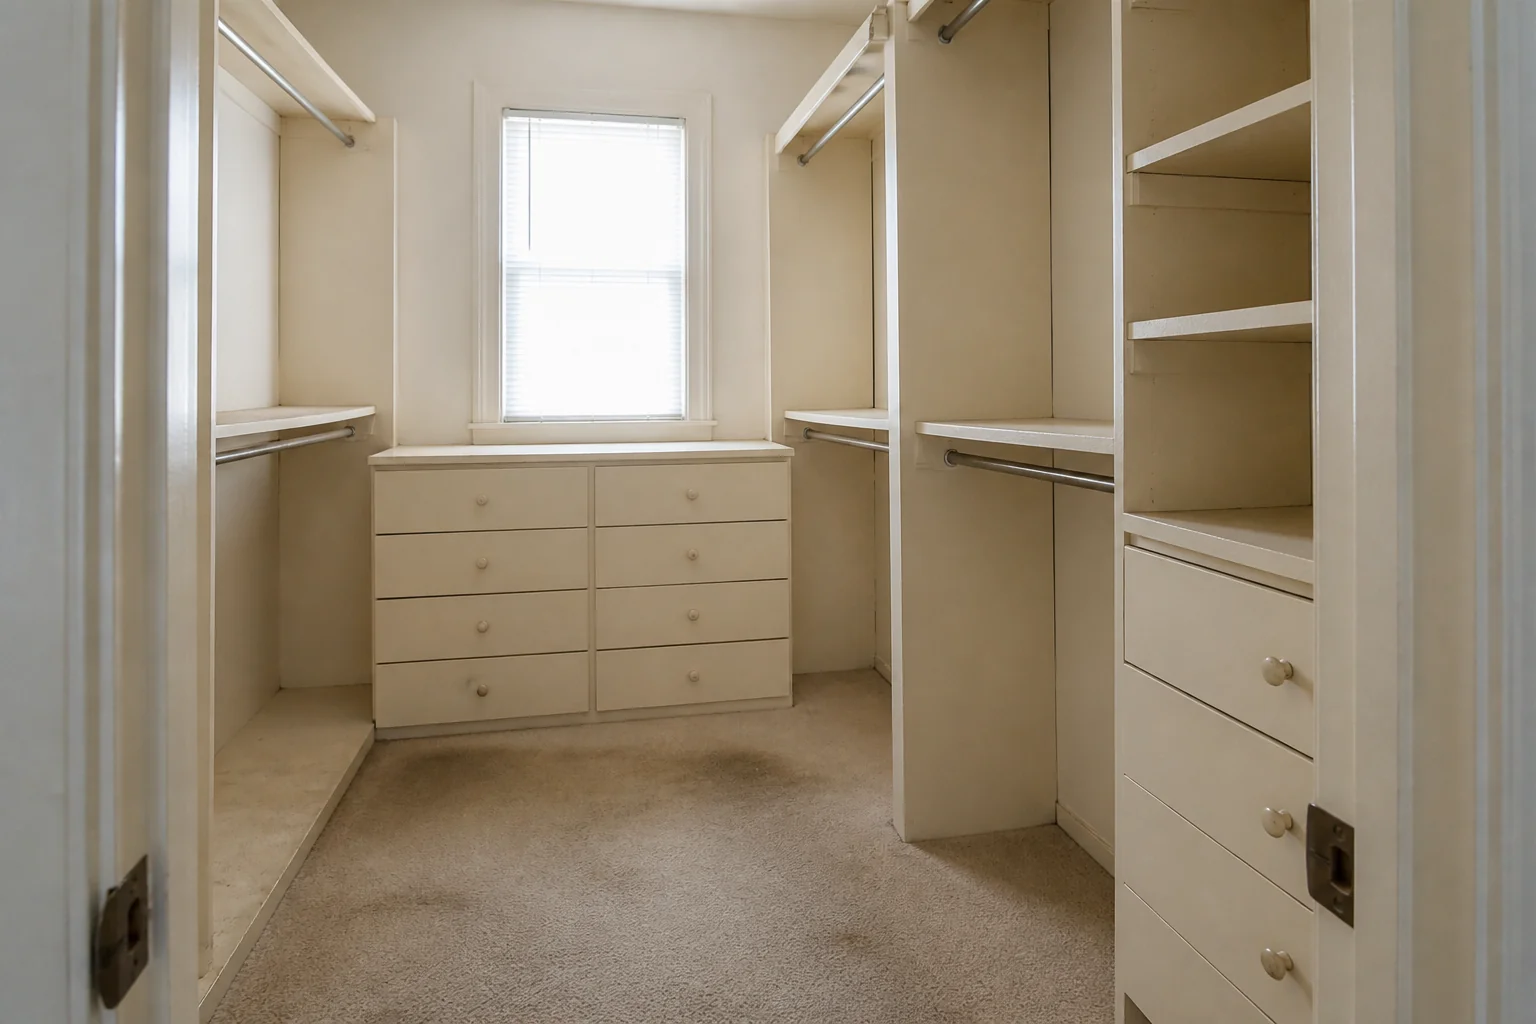
- 1
The plan
Colour accuracy is the point. A high-CRI source at 3500–4000K, positioned in front of the hanging rather than above it, so you are not reading colour off a shadowed garment. Strip lighting on the front edge of each shelf beats any ceiling fixture.
- 2
What it has to light
The elements the work touches — hanging rails at two heights, drawer banks, shelving, shoe storage — are what the lighting has to make legible. Finishes chosen under a showroom's light and lit badly at home look like different materials.
- 3
Where lighting goes wrong here
Downlights behind the person, casting their shadow onto the clothes.
Questions
- What should I decide first in a walk-in closet remodel?
- A closet remodel is an inventory problem solved in joinery. Count what actually hangs long, what hangs short, what folds and what sits in a box — then build to those numbers rather than to a symmetrical elevation.
- What goes wrong most often?
- A single rail at one height, wasting the 3ft underneath it. Hanging depth under 24in, so everything on the rail is creased at the shoulder.
- Will it work in a small walk-in closet?
- A reach-in of 6ft, double-hung, holds more than a badly planned 8×8ft walk-in, because none of it is aisle. Only go walk-in if the room can give up 36in of pure circulation.
- Can I see it on my own walk-in closet before starting?
- Yes — photograph the space and run it through the Studio. It is generated imagery, so compare the render against your photo rather than treating it as a plan.
How to Remodel a Walk-In ClosetThe order the work happens in, and what to settle before anything is ordered.How to Remodel a Small Walk-In ClosetWhat changes when the space will not take the standard answer.How to Lay Out a Walk-In ClosetThe dimensions that decide whether the room works, whatever it ends up looking like.Walk-In Closet Remodel Mistakes to AvoidThe failures that show up again and again, and what causes each one.Walk-In Closet Before and AfterWhat actually changes visually, and how to see it on your own photo first.