Kitchen Island Before and After
What actually changes visually, and how to see it on your own photo first. The one addition that either transforms a kitchen or blocks it.
 BeforeAfter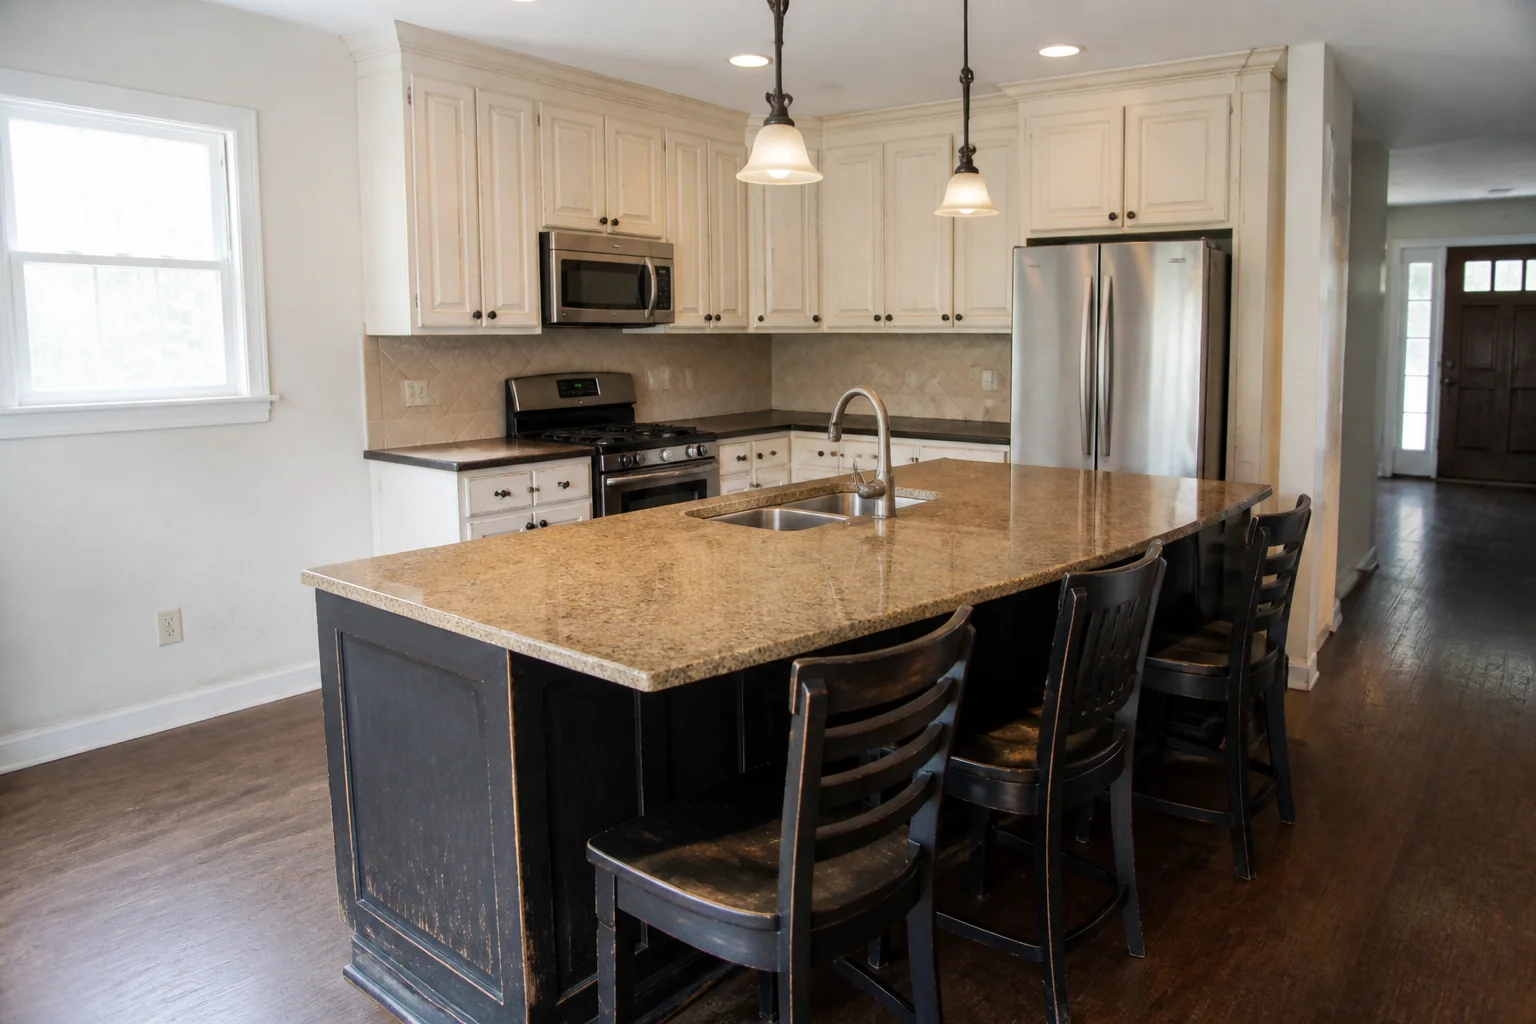
- 1
What visibly changes
Adding or rebuilding an island is a separate project from a kitchen remodel, and a more delicate one. It succeeds or fails entirely on clearance: an island with 42in around it makes the kitchen; the same island with 32in makes an obstacle.
- 2
The elements doing the work
Across a set of before-and-afters the same items carry the difference: island carcass and top, seating overhang, pendants above, power and sockets, sink or hob relocation. Everything else is detail on top of those.
- 3
See it on your own room first
Upload a photo and the Studio renders the finished version from it. A Standard run is 4 credits and new accounts start with 4, so there is a full before-and-after before anything is paid for.
Questions
- What should I decide first in a kitchen island remodel?
- Adding or rebuilding an island is a separate project from a kitchen remodel, and a more delicate one. It succeeds or fails entirely on clearance: an island with 42in around it makes the kitchen; the same island with 32in makes an obstacle.
- What goes wrong most often?
- An island sized to the available floor rather than to the clearance it needs. Seating on the same side as the working surface, so cooks and sitters collide.
- Will it work in a small kitchen island?
- Under 13ft of kitchen width there is no room for an island with proper clearance. A peninsula gives most of the benefit and only needs clearance on three sides.
- Can I see it on my own kitchen island before starting?
- Yes — photograph the space and run it through the Studio. It is generated imagery, so compare the render against your photo rather than treating it as a plan.